Finally, another FO! Yippee! I am so happy I decided to join this CAL over at Crochetville. I can’t wait to use my Eight-Pocket Tote! Here are the finished product pics–front, back, and inside:


And now that it is all done, I present my newest tutorial:
Lovely Lining: an Intermediate Seamstress Takes a Stab at Lining a Bag
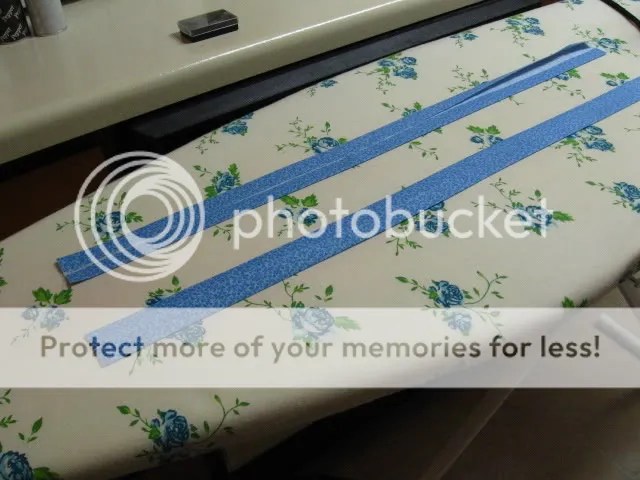
Step 1: Measure and cut fabric pieces to correspond with the parts of the bag to be lined. I cut 2 pieces for the main body, 2 for the sides and 1 for the bottom. I also cut 2 pieces of material for the straps as I didn’t want them to stretch when I carry slightly heavier items.

Step 2 (optional-for straps): Press in seam allowances on and stitch in place.

Step 3: Pin lining for bottom of bag to lining for main body of bag. Stitch seam and press toward bottom of bag. Repeat for second piece of main body lining.


Step 4: Pin bottom of side lining pieces to the bottom lining piece, centering each so that there is plenty of material for each side seam to be sewn later. Stitch in place and press seam toward bottom.

Step 5: Pin side seams together and stitch in place. Press seams toward side pieces.

Step 6: Place lining in bag and measure to determine seam width needed to acheive desired look. Mark seam placement with a pin, then return to a flat surface to evenly turn down desired seam allowance all the way around. Pin and press. Stitch seam to finish all the way around. I had a wide seam width, so I stitched 5/8 inch in, but 1/4 in may be necessary if you do not have much fabric turned under.


Step 7: Now it is time to insert your lining in your bag. If you are lining the straps as well, you will want to pin these on first, centering them with enough width at each end to tuck under the main lining.

Next, place main lining inside the bag and pin in place, leaving a small space around the straps open for stitching.

Step 8: Using whatever stitch is comfortable for you, hand-sew the lining in place, starting with the straps. I used a hidden stitch similar to what I would use to hem a dress. This makes the seam virtually invisible. However, a straight stitch would also work to secure the lining to the bag. Use what works best for you!

And now you have a lovely lined bag, all ready to carry whatever you need, wherever you go! Enjoy!


Cocoa, Wonderful job, the bag is gorgeous.
Margaret
Cocoa,
BEAUTIFUL…..sure makes me want to TRY one!!!! judy
Fabulous! Thanks! 🙂
[…] a little something I whipped up with more recylced cotton, the same stuff I used on the eight-pocket tote. It’s my first written pattern, so if you try it, please let me know if you find any errors […]
Hi! I stopped over from the Ville! This looks AWESOME! The color combo is great and the tutorials are perfect!
I was thinking that I didn’t have time to do this but then I remembered that my roommate’s birthday is coming up soon. I will be bookmarking these tutorials and coming back when it’s all ready to be assembled.
Nice job!
I haven’t been online for more than a year (serious withdrawal). Anyway, I just love the tote. You did a wonderful job illustrating, too!
Thank you so much for the detailed tutorial with the lining!!!
Your bag is beautiful and I love that you lined the straps to prevent stretching.
This blog looks so professional. I hope mine will evolve to such professionalism. Thank you for sharing this tutorial.
Awww man, YES, the idea about lining the straps!!!!!!!! You just go ‘head girl with your bad self. Kudos, goood job!!
I said thanks before – but I’m now finally working on it, so thanks again! 🙂
WOW! Lovely work! Thanks or the pics, my linings never turn out that nice! I am impressed!
Micki at AMH
That’s cool. I just finished that bag and I made mine red and purple and I lined it with purple but I never thought about adding the lining material to the handles. I may backtrack and do that now! That way if you have the bag heavy, the handles wouldn’t stretch like they do! DUGH! Thanks! Yours is very nice!!!!
[…] a little something I whipped up with more recylced cotton, the same stuff I used on the eight-pocket tote. It was my first written pattern, and it was a little overly simplistic in its initial form. I have […]